The following post was originally published by the Hue Team at the Hue blog in a slightly different form.
In this post, we’ll take a look at the new Apache HBase Browser App added in Hue 2.5 and which has improved significantly since then. To get the Hue HBase browser, grab Hue via CDH 4.4 packages, via Cloudera Manager, or build it directly from GitHub.
Prerequisites before starting Hue:
- Have Hue built or installed.
- Have HBase and Thrift Service 1 initiated. (Thrift can be configured through Cloudera Manager or manually.)
- Configure your list of HBase Clusters in hue.ini to point to your Thrift IP/Port.
In the demo below, you’ll get a walk-through of the two main features of this app.
SmartView
The SmartView is where you land when you first enter a table. On the left-hand side are the row keys, and hovering over a row reveals a list of controls on the right. Click a row to select it, and then you can perform batch operations, sort columns, or do multiple common database operations. To explore a row, simple scroll to the right. By scrolling, the row should continue to lazily-load cells until the end.
Adding Data
To initially populate the table, you can insert a new row or bulk upload CSV files, TSV files, and so on, type data into your table.
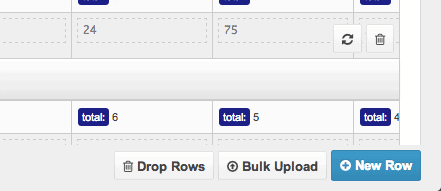
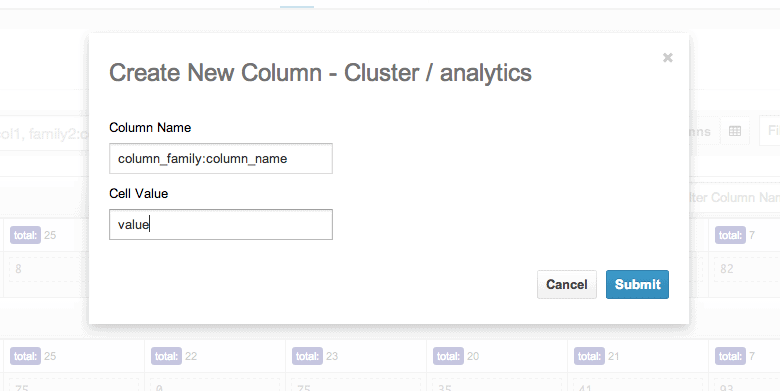
On the right-hand side of a row is a ‘+’ sign that lets you insert columns into your row.
Mutating Data
To edit a cell, simply click to edit inline:
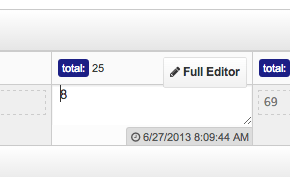
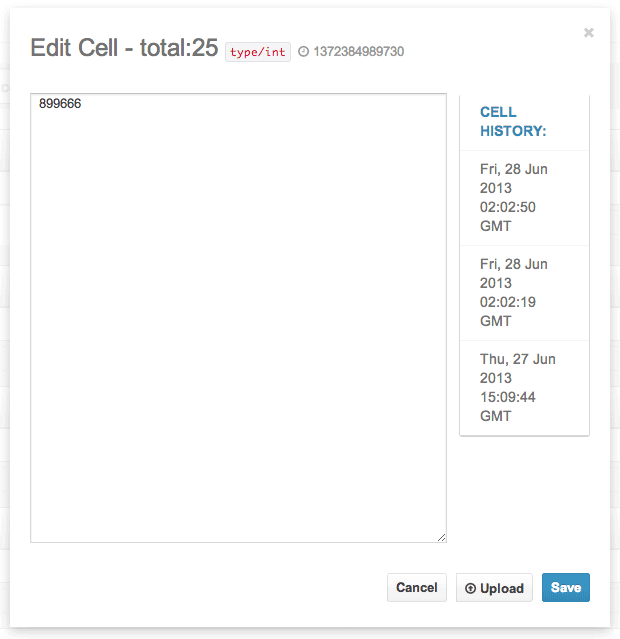
If you need more control or data about your cell, click Full Editor to edit.
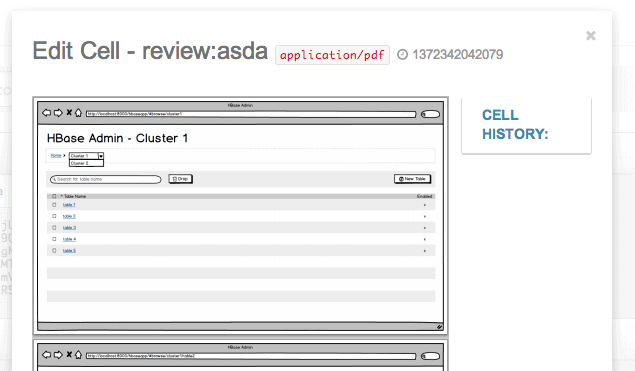
In the full editor, you can view cell history or upload binary data to the cell. Binary data of certain MIME types are detected — meaning you can view and edit images, PDFs, JSON, XML, and other types directly in your browser!
Hovering over a cell also reveals some more controls (such as the delete button or the timestamp). Click the title to select a few and do batch operations:

If you need some sample data to get started and explore, check out this how-to about creating HBase tables.
Smart Searchbar
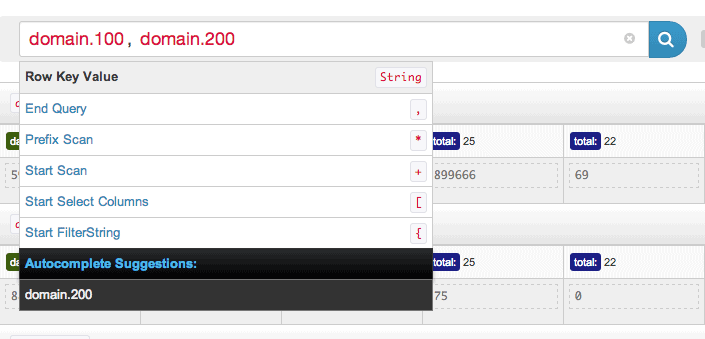
The Smart Searchbar is a sophisticated tool that helps you zero-in on your data. Smart Search supports a number of operations; the most basic ones include finding and scanning row keys. The screenshot illustrates selecting two row keys with:
domain.100, domain.200
Submitting this query returns the correct two rows. If you want to fetch rows after one of these, you have to do a scan — which is as easy as writing a ‘+’ followed by the number of rows you want to fetch. Typing in:
domain.100, domain.200 +5
Fetches domain.100 and domain.200 followed by the next five rows. If you’re ever confused about your results, you can look down below and the query bar and also click in to edit your query.
The smart search also supports column filtering. On any row, you can specify the specific columns or families you want to retrieve with:
domain.100[column_family:]
I can select a bare family, or mix columns from different families like so:
domain.100[family1:, family2:, family3:column_a]
Doing this will restrict your results from one row key to the columns you specified. If you want to restrict column families only, the same effect can be achieved with the filters on the right. Just click to toggle a filter.
Finally, let’s try some more complex column filters. Query for bare columns:
domain.100[column_a]
This will multiply the query over all column families. You can also do prefixes and scans:
domain.100[family: prefix* +3]
This will fetch all columns that start with prefix* limited to three results. Finally, you can filter on range:
domain.100[family: column1 to column100]
This will fetch all columns in ‘family:’ that are lexicographically >= column1 but
The smart search also supports prefix filtering on rows. To select a prefixed row, simply type the row key followed by a star *. The prefix should be highlighted like any other searchbar keyword. A prefix scan is performed exactly like a regular scan, but with a prefixed row.
domain.10* +10
Finally, as a new feature, you can take full advantage of the HBase filtering language by typing your filter string between curly braces. HBase Browser autocompletes your filters for you so you don’t have to look them up every time. You can apply filters to rows or scans.
domain.1000 {ColumnPrefixFilter('100-') AND ColumnCountGetFilter(3)}
This post only covers a few basic features of the Smart Search. You can take advantage of the full querying language by referring to the help menu when using the app, including column prefix, bare columns, column range, and so on. Remember that if you ever need help, you can use the help menu that pops up while typing, which will suggest next steps to complete your query.
If you want to learn how to create various tables in HBase, read “How to Create Example Tables in HBase”.
Et voila!
Feel free to try the app at gethue.com. Let us know what you think on the Hue user group or community forum!


